Featured products
-
IZMIR POPPY SEA OF PINK: A COMPREHENSIVE GUIDE TO BEING SUCCESSFUL GROWING PAPAVER SOMNIFERUM THE OPIUM POPPY
Regular price $29.99 USDRegular priceUnit price per -
Asian OB/Izmir Pink Special Afghan Hybrid Poppy Seeds (Papaver somniferum / Var Galania) 1500 Pack
Regular price $29.99 USDRegular priceUnit price per -
Izmir Pink Special Afghan Poppy Seeds (Papaver Somniferum Var Galania) 1500 pack
Regular price $29.99 USDRegular priceUnit price per -
TRUE Izmir Bush Poppy (Papaver Somniferum) 1500 Seeds
Regular price $29.99 USDRegular priceUnit price per -
Izmir Asian OB Poppy Seed (Papaver Somniferum) 1500 Seeds
Regular price $29.99 USDRegular priceUnit price per -
Izmir Burma Golden Triangle Papaver Somniferum Poppy Seeds (1500 Pack)
Regular price $29.99 USDRegular priceUnit price per -
Izmir Poppy Mega Mix: Asian OB × Izmir Pink Special Afghan Hybrid and Izmir Pink Special Afghan — 1,500 Seeds
Regular price $29.99 USDRegular priceUnit price per -
Izmir Poppy Mega Mix: Izmir Bush & Izmir Pink Special Afghan 1500 pack
Regular price $29.99 USDRegular priceUnit price per -
Izmir Poppy Mystery Mix (Papaver Somniferum) poppy seed 1500 pack
Regular price $29.99 USDRegular priceUnit price per -
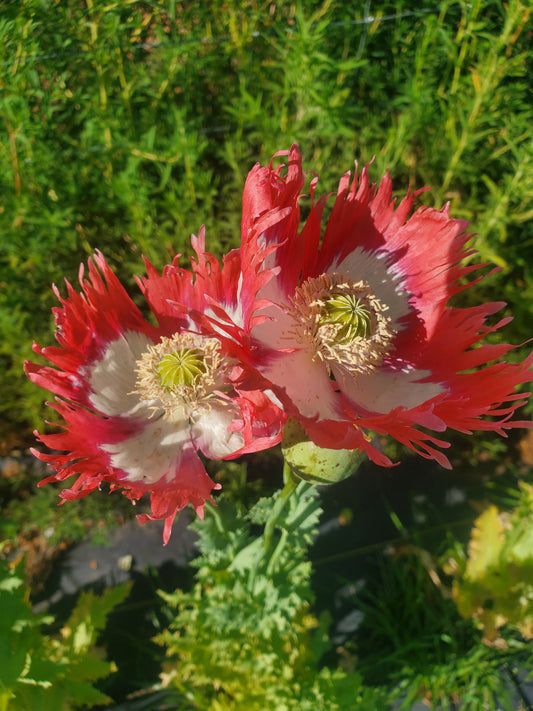
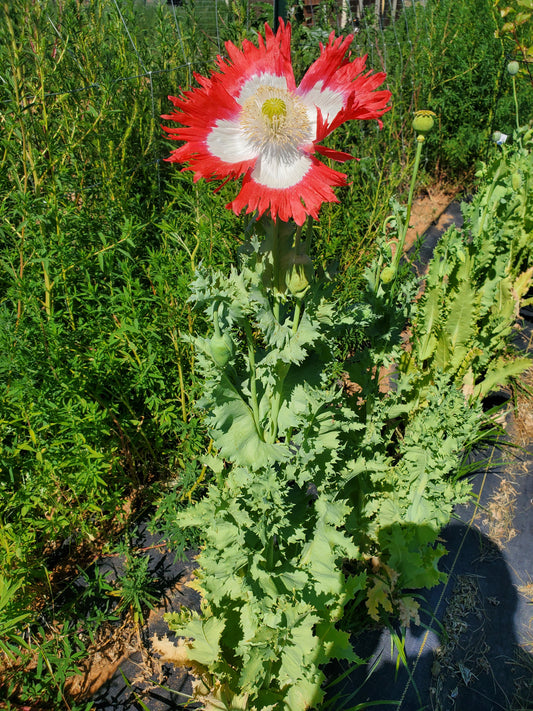
TRUE Izmir Danish Flag Poppy Seed (Papaver Somniferum)1500 Seeds
Regular price $29.99 USDRegular priceUnit price per -
Lauren’s Grape Poppy Seeds (Papaver Somniferum) 1500 pack
Regular price $29.99 USDRegular priceUnit price per -
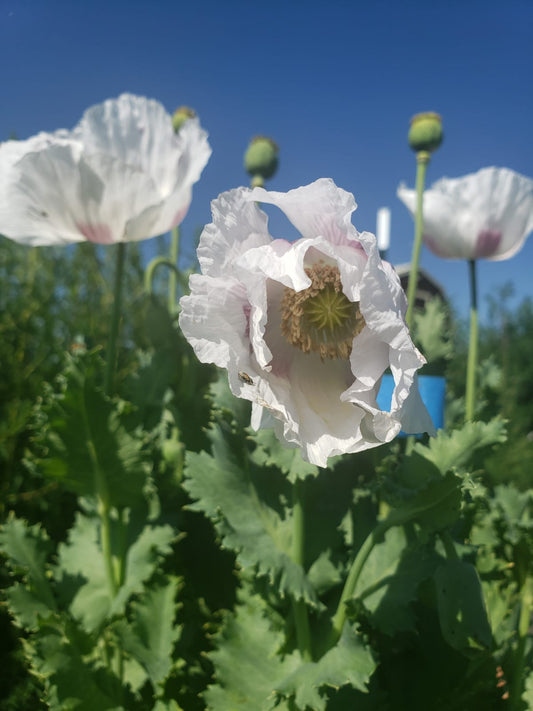
Elka white Poppy Seeds (Papaver Somniferum) 1500 pack
Regular price $29.99 USDRegular priceUnit price per -
Afghan White Poppy Seeds (Papaver somniferum) 1500 pack
Regular price $29.99 USDRegular priceUnit price per -
Hungarian Blue Buddha Poppy Seeds (Papaver somniferum) 1500 pack
Regular price $29.99 USDRegular priceUnit price per -
TRUE Izmir Afghan Blue Poppy Seed (Papaver Somniferum) 1500 Seeds
Regular price $29.99 USDRegular priceUnit price per -
PepperBox Poppy Seed (Papaver Somniferum) 1500 Seeds
Regular price $29.99 USDRegular priceUnit price per -
Izmir Turkish Giant Poppy Seeds (Papaver somniferum)1500 pack
Regular price $29.99 USDRegular priceUnit price per -
Black Swan Poppy Seeds (Papaver Somniferum) 1500 pack
Regular price $29.99 USDRegular priceUnit price per -
Izmir Uttar Pradesh India White Poppy (Papaver somniferum) 1500 Seeds
Regular price $29.99 USDRegular priceUnit price per -
True Izmir Tasmanian Papaver Somniferum poppy seed 1500 pack
Regular price $29.99 USDRegular priceUnit price per -
Sokol Poppy Seeds (Papaver somniferum var. glabrum) 1500 pack
Regular price $29.99 USDRegular priceUnit price per